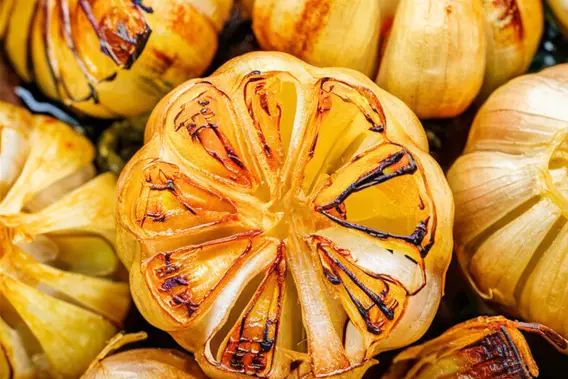
If you’ve never tried roasted garlic, let me tell you—you’re in for a treat. The caramelized cloves transform into a buttery, mellow, and slightly sweet flavor bomb that takes everything from soups to pasta to the next level. When I discovered you could make roasted garlic in an air fryer, I knew I had to try it. Not only is it faster, but it’s also so simple that it’s become my go-to method.
With just a drizzle of olive oil, a pinch of salt, and the magic of the air fryer, you can achieve perfectly roasted garlic in less than half the time it takes in an oven. Whether you’re a garlic lover or just someone looking for a little culinary flair, this recipe is a must-try. Let’s dive into everything you need to make this recipe a success!
What You Need to Make This Recipe
Whole Garlic Bulbs: These are the stars of the show. Look for firm, plump garlic heads with tight skins. Avoid any bulbs that feel soft or show signs of sprouting.
Olive Oil: A good-quality olive oil helps the garlic caramelize beautifully. It adds a touch of richness that enhances the natural sweetness of the roasted garlic.
Salt: A sprinkle of salt elevates the flavor of the roasted garlic, making it even more irresistible. Kosher salt or sea salt works best for its texture.
Foil or Parchment Paper: Wrapping the garlic bulbs ensures even cooking and keeps them from drying out in the air fryer.
Ingredients List
- 2 whole garlic bulbs
- 1–2 tablespoons olive oil
- 1/4 teaspoon kosher salt
How to Make Air Fryer Roasted Garlic
Step 1: Prepare the Garlic
Slice off the top 1/4 inch of each garlic bulb to expose the tops of the cloves. Be careful not to cut too much—you want the bulbs to stay intact.
Step 2: Season the Garlic
Drizzle the olive oil evenly over the cut garlic heads, ensuring the exposed cloves are coated. Sprinkle with salt for added flavor.
Step 3: Wrap the Garlic
Wrap each garlic bulb in foil, or place them in a small heatproof dish covered with parchment paper if you prefer not to use foil.
Step 4: Air Fry the Garlic
Preheat your air fryer to 375°F (190°C). Place the wrapped garlic bulbs in the basket, cut side up, and roast for 20–25 minutes. The garlic is ready when the cloves are golden, soft, and fragrant.
Step 5: Cool and Serve
Let the garlic cool slightly before handling. Squeeze the soft, roasted cloves out of their skins and use them as a spread, mix-in, or topping.
Tips for Making This Recipe
- Choose Fresh Garlic: Fresh garlic bulbs roast better and have a richer flavor. Avoid old or sprouting garlic.
- Use High-Quality Olive Oil: A flavorful olive oil enhances the natural sweetness of the garlic.
- Avoid Burning: Check your air fryer around the 20-minute mark to ensure the garlic doesn’t overcook. Burnt garlic can taste bitter.
- Store Leftovers: Store roasted garlic in an airtight container in the fridge for up to a week or freeze it for longer storage.
FAQs
Q: Can I roast garlic without foil in the air fryer?
Yes, you can use parchment paper or place the garlic in a small heatproof dish to avoid using foil.
Q: How do I store leftover roasted garlic?
Leftover roasted garlic can be refrigerated in an airtight container for up to a week. For long-term storage, freeze the cloves in olive oil.
Q: What are some ways to use roasted garlic?
Spread it on bread, mix it into mashed potatoes, stir it into pasta, or use it to enhance soups, sauces, and salad dressings.
Q: Can I roast more than two garlic bulbs at once?
Absolutely! Just ensure the bulbs have enough space in the air fryer basket for even cooking.
Q: What’s the best air fryer temperature for roasted garlic?
375°F (190°C) works best for caramelized, soft cloves without burning.
With these simple steps, Air Fryer Roasted Garlic can quickly become a staple in your kitchen. Whether you’re whipping up a gourmet dish or adding a little flair to your favorite recipes, roasted garlic is always a win. Enjoy!